Model kit painting ain't easy shit, but it's kinda fun i guess. Wouldn't mind trying it again sometime soon.
I think i did rather okay with it. Looks pretty good from arm's length, but up close the little mistakes start to appear.
Got a little impatient and rushed certain bits here and there, which i totally shouldn't have done. Next time i guess.
Kinda proud of it tho, and she looks pretty darn good standing beside my monitor =D
Now if only i had the Rei one...
Final Fantasy XIII Mini-shoot
0
comments |
This entry was posted on Wednesday, November 25, 2009
Final Fantasy XIII mini-shoot at Suntec City Sky Gardens and Convention Hall.
View more on my devart! [here]
Snow's Arm Thingy and Others
2
comments |
This entry was posted on Sunday, November 15, 2009
No I'm not gonna call it a bracelet. Men don't wear bracelets, especially a manly man, like Mr. Villiers.
Did some planning so far, gonna start working on it asap. (MW2 is like the devil on my shoulder)
Rough as hell, but should be enough to make out. Prob gonna be using craft foam mostly, with some styrene here and there, and probably little beads for some of the details. That thing in the center looks strangely like a speaker... won't be putting one there though. Prob just slap a piece of foam there or somethin'.
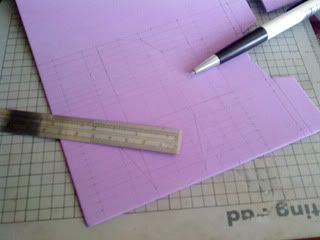
As always, measuring comes first. It's trickier doing measurements on foam compared to styrene, as the material may somethings compress, and deviate measurements by a couple millimeters (which doesn't sound much, but may occasionally F thing up here and there).
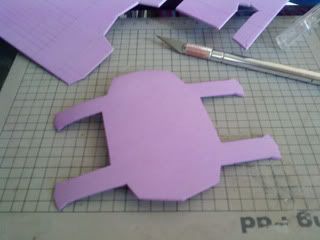
For cutting, instead of the penknife, I'm using a cutter, which looks sorta like a surgeon's scalpel. The blades are wayyy sharper, which really helps make a clean cut on craft foam.
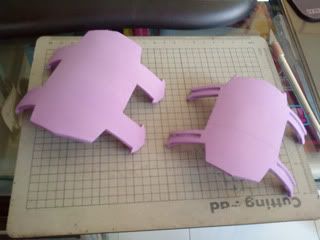
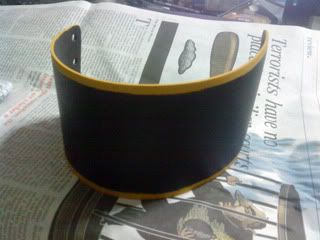
After I finish cutting the individual pieces, I proceed to glue 'em together. I keep the pieces that are to be of different color separate though, this helps when i paint em later. After the glue sets, I bring the pieces to the kitchen stove and heat them, and then form them around some round jars lying around, giving me a nice rounded shape.
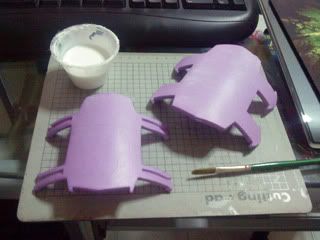
Next up, sealing. This process eliminates the absorbency of the foam, allowing the paint to stay on the surface. It involves painting coats of a mixture of white glue, fabric glue, and water on to the foam pieces. At least 7 coats are required to achieve an optimal effect.
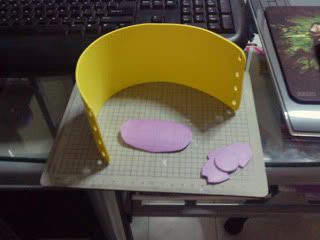
And oh, the other pieces too. Haven't shown em so far, so here they are. The yellow one is the strap that goes around the arm. The 2 smaller ones go on top of the previous ones shown.
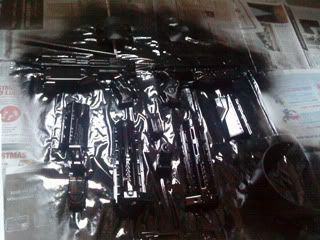
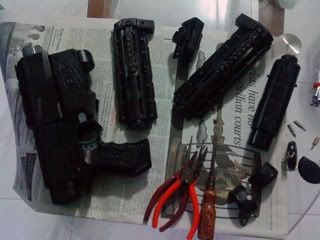
Here comes the paint. I throw in the Nerf gun and blacken the whole thing, just coz it looks cooler.
After it dries, I assemble it. The darts travel wayyy further now with the modifications. Awesome.
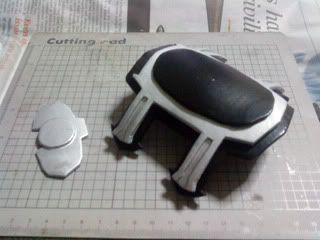
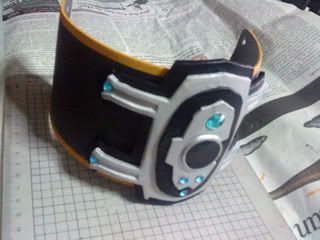
The assembled arm piece. All it needs now is the little details that go around it, stuff like little gems and etc.
Also add the border to the armband itself. Used the usual acrylic paint.
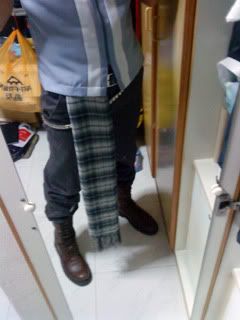
I then tried a quick costume test, just for kicks. Making his boots are way beyond me, so i went with generic brown combat boots. Everything else I made as accurate as i possibly could.
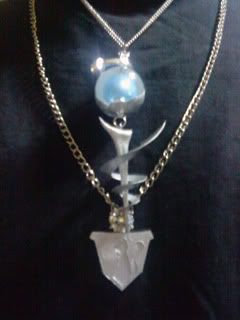
Oh, have also been working on his necklaces, the one from Serah, and his own one. They were a b*tch to make, but now that they're done, am rather satisfied with my handiwork. =]
After giving the armband a good mat varnish, i glue on the centerpiece. Voila, arm thingy.
That about wraps up all the props i need for Snow. All that's left now is to make some little details on the coat, and figure out how the damn tattoo works. =/
Time is really running out
0
comments |
This entry was posted on Monday, November 2, 2009
3 weeks to AFA.
And I'm hardly even prepared for it.
Need a miracle right about now.
And I'm hardly even prepared for it.
Need a miracle right about now.
Nerf Gun Mod
0
comments |
This entry was posted on Friday, October 16, 2009
Came across this today. [link]
There's also a tutorial on making it more powerful, giving up to 15 meters more range on a dart. Totally gonna try that shit. Plus an epic paint job.
Updates to come.
There's also a tutorial on making it more powerful, giving up to 15 meters more range on a dart. Totally gonna try that shit. Plus an epic paint job.
Updates to come.
Shiki
0
comments |
This entry was posted on Tuesday, October 13, 2009
Fanart of The World Ends With You (awesome game btw). Not complete yet, gonna add a few more characters, and a background. (yay!)
This resulted from a 'challenge' i made to Valerie, who complained of being bored and uninspired. It was kind of a lame challenge really, we just had to draw fanart of whatever. I actually finished the lineart in about 2-3 hours, which might be sort of a record for me, slow-assed artist that i am.
lolspeedpaint
0
comments |
This entry was posted on Sunday, October 11, 2009
Err... 2-3 hours, does that still count as a speed paint?
its effin rough. the original lineart was insanely messy, and the half-assed job i did on cleaning it up made it worse i think. OTL
Will do another piece on this lovely pair sometime soon to make up for this anyhow piece.
[PROTOTYPE]
0
comments |
This entry was posted on Wednesday, September 23, 2009
The Blade arm
2
comments |
This entry was posted on Thursday, September 3, 2009
I just realized i have 17 Days to finish this. Omgwtf.
PART I - THE BLADE
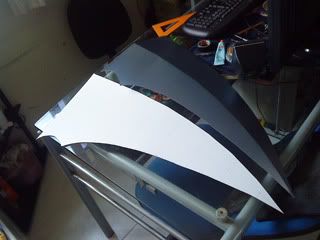
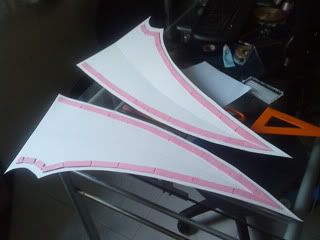
Using all the measurements I made (that took forever... forgot all my math) I draw and cut out the 2 blades. I also measure out a centre line, and score along it, giving me a nice fold.
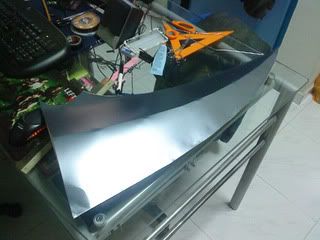
I cut strips of craft foam and line the edges, leaving a gap of 1cm. This is to ensure the edges don't get too flat once i glue the entire structure together. (got this idea off The Prop Blog. Extremely useful resource for budding props makers)
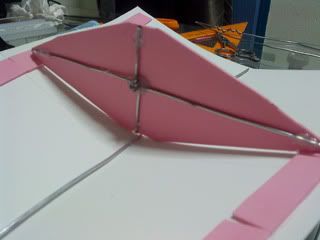
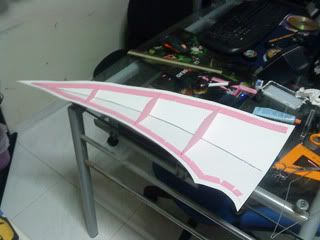
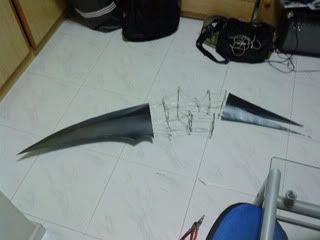
Using the measurements, i cut out pieces of craft foam for the main structure, and reinforce it with wire. I make a total of 3 in different sizes and glue them onto one side of the blade...
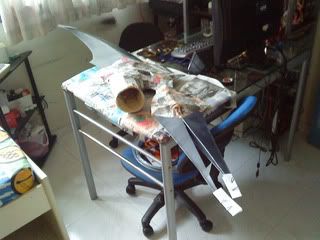
... As seen here.
Once that is done, i slap on the other side, and slowly glue it on. I start with the outer edge of the blade, applying by segments so as to prevent the glue from cooling too fast. After the outer edge is done, i proceed to glue the structure at the center, and then finish off with the inner edge. Oh, i also save the tip for last, as it is sorta glued flat right at the point. (Ignore the dent at the bottom, it dropped off the table whilst i was taking the picture ._.)
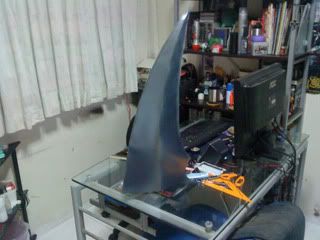
And... standing on my table. Oh, and i also use the exact same process to make the other part of the blade, the 2 smaller ones on the top. No pics for that, since it's the same ol' thing over again.
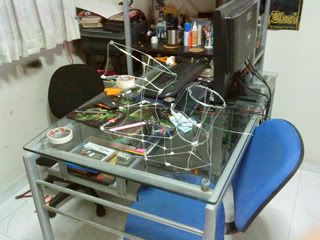
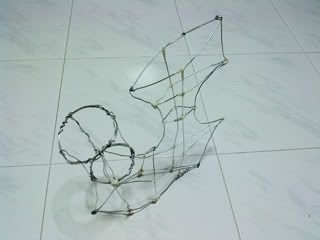
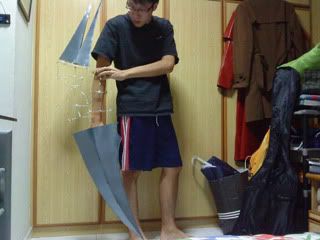
Using wire, I slowly (and painfully... it's friggin sharp edges caused me much distress) make the structure for the centre part. I did not take photos of this entire process as it's rather self explanatory. It's very important that measurements are made properly at this point, don't wanna end up having the sizes all wrong.
Here's another shot of it, but on the floor, for a clearer view.
After that, i start attaching the blades onto the main structure. This part is tricky, and takes some precision work, thus, no photos. But here's one of what it looks like when i'm done.
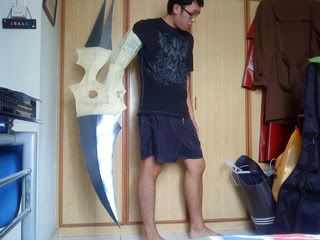
Tried it on, just to make sure the size is correct. Looks good so far. Just needa slap on the surfaces.
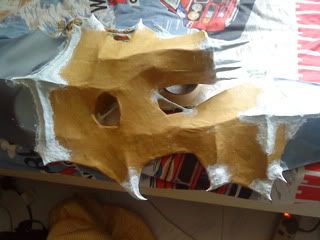
At this point, i realize one problem. Compared to the original, the 2 smaller blades on my current structure are too bent inwards. Exactly what happens when one forgets to check with reference occasionally ._. I fix it, and begin to wrap the empty structure with masking tape. The masking tape layer will be the base layer for the later paper mache layers. Here's what it looks like with the tape on.
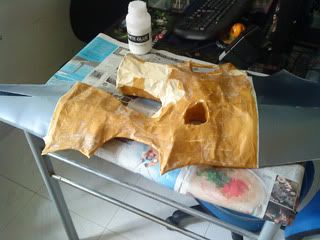
For the first layer of paper mache, I use brown paper, the kind used for wrapping mail packages. It's way stronger than newspaper, and more durable when it hardens.
I use newspaper for the next layer however, so as to allow me to distinguish the layers. I'm planning for a total of 5 layers, which should be durable enough to withstand some punishment. (I hope)
5 layers of painstakingly slow paper-mache-ing later... I start putting on the little details using paper clay. It's an air-drying clay, so no heat required. It tends to crack when drying tho, so i patch them up with more clay everytime it does.
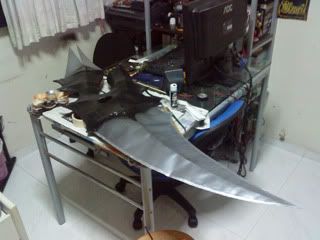
After it sets, it's on to the paint job. I spray a generous coat of black all over the center portion, and give the blades a small coating of gunmetal grey. I weather the blade a little using some black paint, giving it some texture, and use a silverish grey to mimic a sharp edge on the blades. Once the paint dries, i give it a quick coat of acrylic varnish to protect it a lil'.
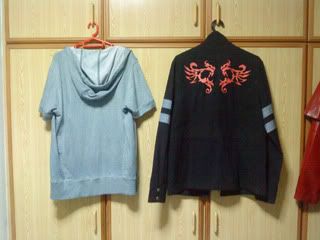
With the blade arm almost ready, i also take the time to work on the rest of the costume. The jacket was an ordinary black one, added on the stripes and the tribal-decal-thing on the back using T-shirt transfers (which cost a bomb btw). I had to dye the hoodie a little to get the correct shade of grey... although it came out looking only a little darker. Nvm, doubt anyone would notice it.
And that's about it. Didn't take anymore pictures from this point on.
Stay tuned for pics of it in action!
The Resistance
0
comments |
This entry was posted on Wednesday, September 2, 2009
THE RESISTANCE
Uprising
United States of Eurasia / Collateral Damage
cantwaitcantwaitcantwaitcantwaitcantwait
Uprising
United States of Eurasia / Collateral Damage
cantwaitcantwaitcantwaitcantwaitcantwait
Rorshach's Hook Gun
0
comments |
This entry was posted on Friday, August 14, 2009
I totally forgot to take pics when i did Alucard's Jackal, sucha waste. It turned out looking pretty nice. Sigh.
No such mistake this time round.
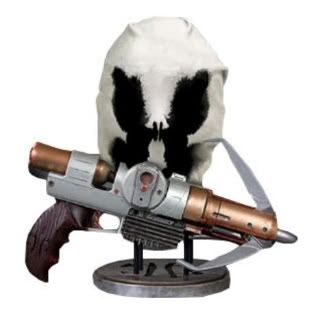
Presenting... Rorshach's Hook Gun!
The Original
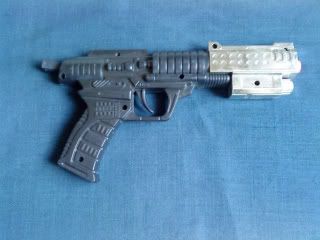
The base i'm working with. Bought it at a toy store near arab street.
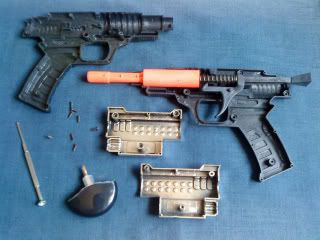
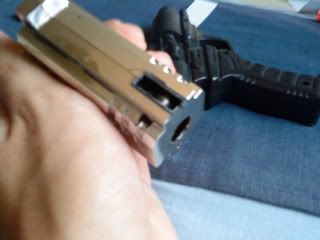
And... exposed.
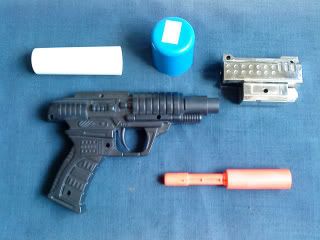
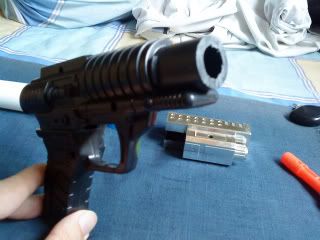
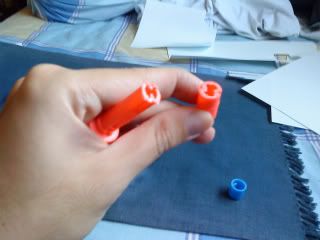
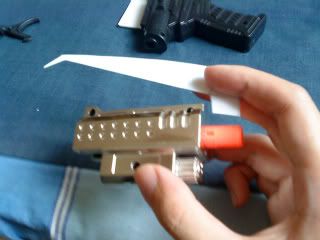
To save time, im gonna use a substitute for the gas cylinder on the back. Found a random bottle that looked suitable. The blue cap is a base for me to make the reel box, which im doing from scratch as i can find a substitute. Gonna move the muzzle up of its original position, and the orange tube, originally the barrel, will be cut down to be part of the hook tip.
First, sawing off the tip of the base. This let's me have a good surface on which to glue the muzzle.
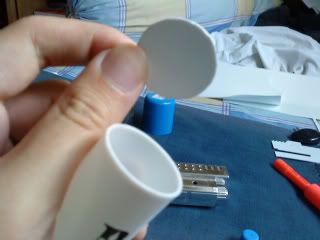
Cut out a cap for the cylinder with a styrene sheet, and glued it together. Whilst it dries...
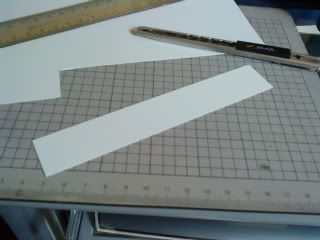
Measured and cut out a strip, which will be used for...
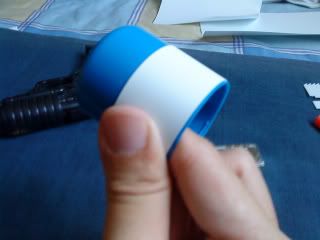
The circumference of the reel box. Had to hold onto for half an hour till the glue set >_>
Sawed off the bit of the barrel i intend to use as part of the hook tip.
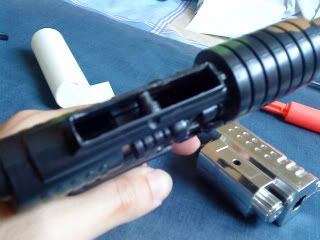
Cut out the top of the back part of the gun, so as to give the gas cylinder a better base to rest on.
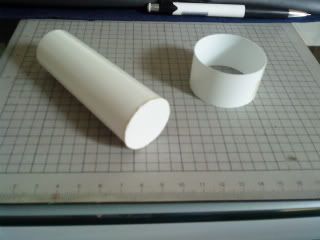
Finally, the glue has set. The fumes are makin my head spin.
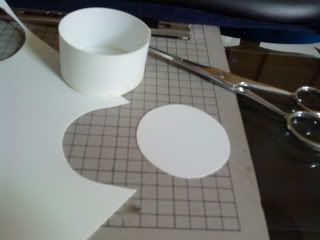
Cutting out and gluing the sides of the reel box.
At this point, i realized that the front sight was blocking where the top hook would eventually be. Off it goes.
Using some paper, i create a prototype of the hook. Looks fine.
Using the piece of paper, i trace and cut out the hooks.
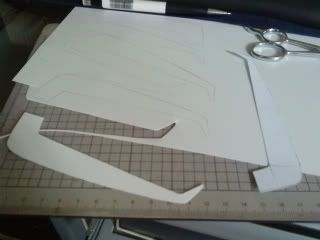
Owch, my hand hurts from all the scissor work T_T
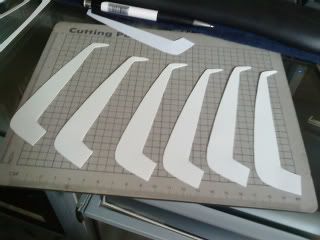
And... The not-so-complete reel box!
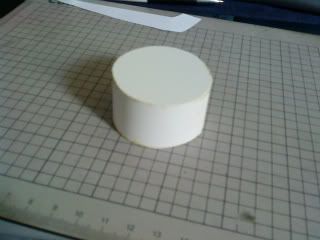
This bit here is some small tube that connects the gas cylinder to the reel box. Details, details...
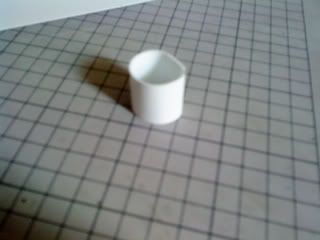
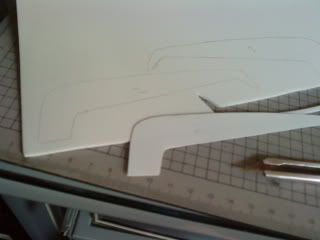
I measure and cut out some craft foam for the hook, gluing them in between.
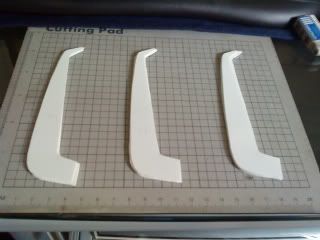
Voila, 3 flimsy hooks!
And... i take a break. Went to shower, watch some TV, and wait for dinner.
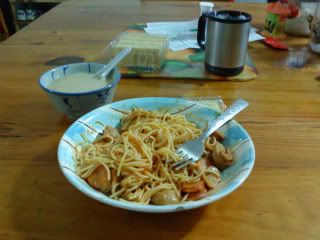
When my dad puts in the effort, he can actually cook some rather nice stuff. Mmm, spagetthi...
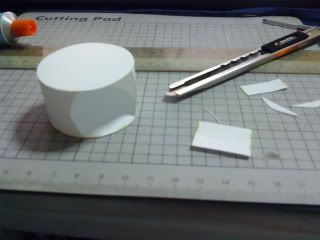
Back to work. Here, i've cut out the bottom of the reel box, so it can sit nicely on the base.
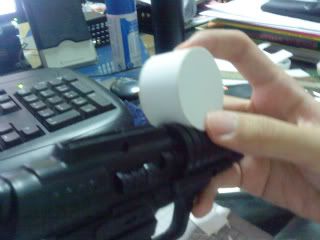
And i glue it in place.
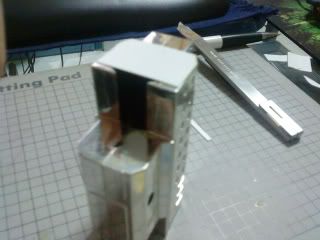
Cut a small piece of styrene to cover the exposed part of the muzzle.
Okay... i forgot to take pictures of this part OTL. Basically i just measured and cut out styrene, glued em together, and then glued the whole thing to the back of the reel box. I shall not forget again.
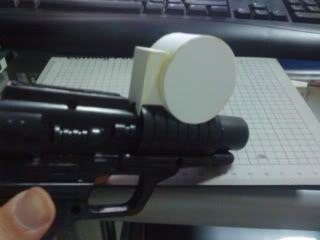
Glued the connector to the gas cylinder. Will wait for the glue to set before i put everything together.
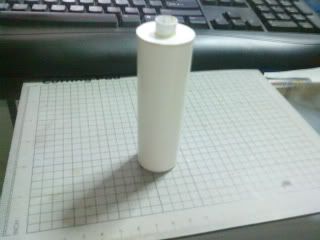
Using some air-dry clay, i make a tip for the hook and then put it aside to dry.
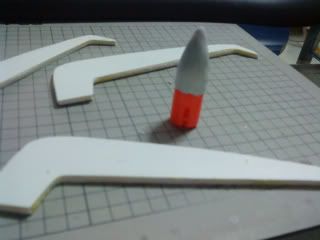
Okay here i've cut out the portion that will connect reel box to muzzle. It's tiny.
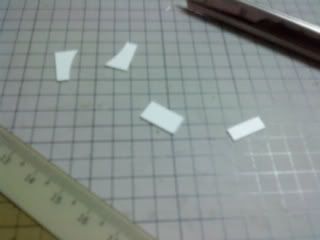
Glued together. omg so flimsy.
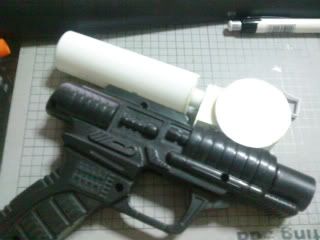
Glue set, i join up the whole thing. Hey! It's starting to look like something!
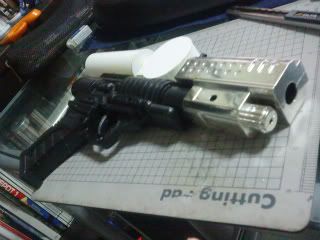
Muzzle goes on. Oooh.
I then retire to sleep for the night. It's tiring making props..
The next day, i wake up and start doing the paint job. Spammed silver over the whole thing. Shiny...
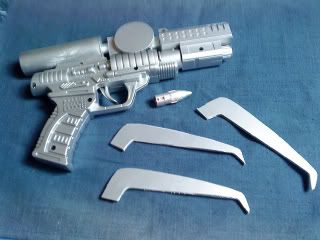
I then glue the hook tip onto the muzzle, after cutting out small notches to glue the hooks.
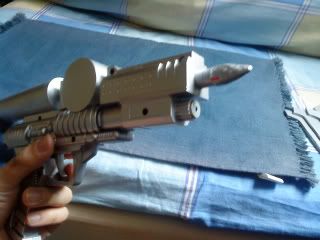
Hooks on. ZOMGWOW.
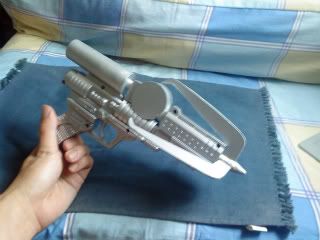
Okay at this point, i realized i should have painted the portions seperately, as the gas cylinder and the muzzle are bronze. DOH. No matter, i paint them on afterwards. Sadly, some paint smudges, and i get an ugly stain on the right side T_T looks like i'll be hiding that bit...
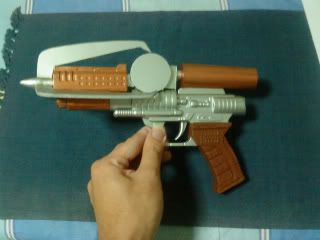
Close-up of the front...
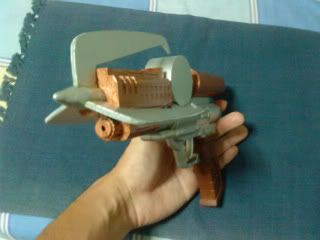
And the back... Smudge in clear view *sob*
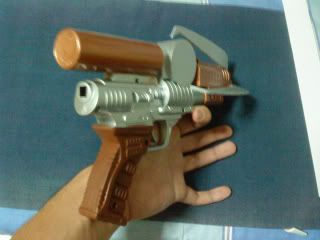
And my other prop HAHA. Handle not yet glued.
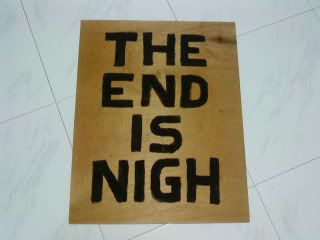
Well, that's it. Took me 2 days of work, on and off, and 2 trips to the art store *grumble*