Did some planning so far, gonna start working on it asap. (MW2 is like the devil on my shoulder)
 Rough as hell, but should be enough to make out. Prob gonna be using craft foam mostly, with some styrene here and there, and probably little beads for some of the details. That thing in the center looks strangely like a speaker... won't be putting one there though. Prob just slap a piece of foam there or somethin'.
As always, measuring comes first. It's trickier doing measurements on foam compared to styrene, as the material may somethings compress, and deviate measurements by a couple millimeters (which doesn't sound much, but may occasionally F thing up here and there).
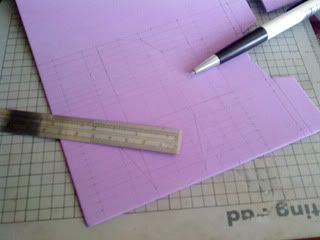
For cutting, instead of the penknife, I'm using a cutter, which looks sorta like a surgeon's scalpel. The blades are wayyy sharper, which really helps make a clean cut on craft foam.
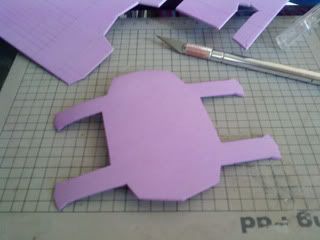
After I finish cutting the individual pieces, I proceed to glue 'em together. I keep the pieces that are to be of different color separate though, this helps when i paint em later. After the glue sets, I bring the pieces to the kitchen stove and heat them, and then form them around some round jars lying around, giving me a nice rounded shape.
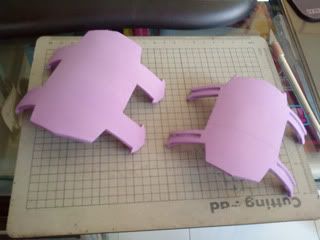
Next up, sealing. This process eliminates the absorbency of the foam, allowing the paint to stay on the surface. It involves painting coats of a mixture of white glue, fabric glue, and water on to the foam pieces. At least 7 coats are required to achieve an optimal effect.
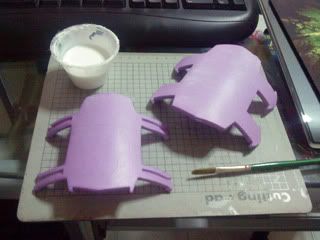
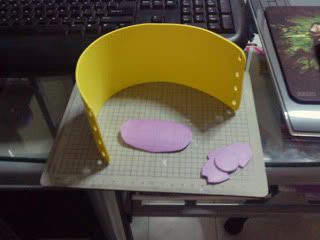
And oh, the other pieces too. Haven't shown em so far, so here they are. The yellow one is the strap that goes around the arm. The 2 smaller ones go on top of the previous ones shown.
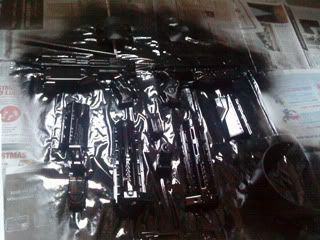
Here comes the paint. I throw in the Nerf gun and blacken the whole thing, just coz it looks cooler.
After it dries, I assemble it. The darts travel wayyy further now with the modifications. Awesome.
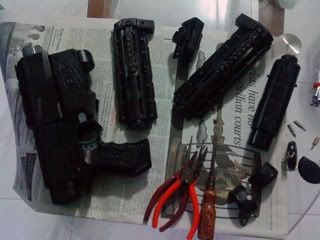
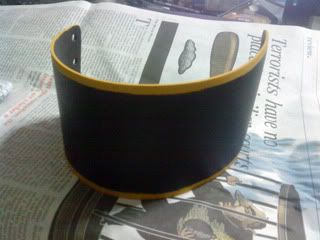
The assembled arm piece. All it needs now is the little details that go around it, stuff like little gems and etc.
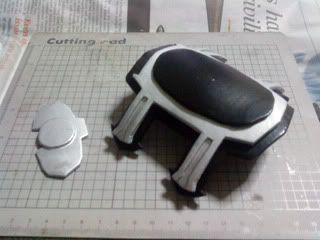
Also add the border to the armband itself. Used the usual acrylic paint.
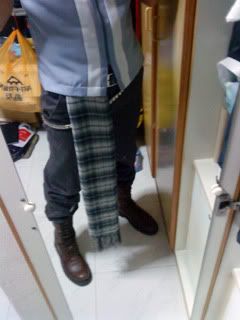
I then tried a quick costume test, just for kicks. Making his boots are way beyond me, so i went with generic brown combat boots. Everything else I made as accurate as i possibly could.
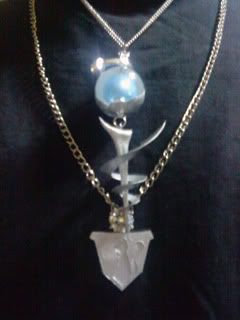
Oh, have also been working on his necklaces, the one from Serah, and his own one. They were a b*tch to make, but now that they're done, am rather satisfied with my handiwork. =]
After giving the armband a good mat varnish, i glue on the centerpiece. Voila, arm thingy.
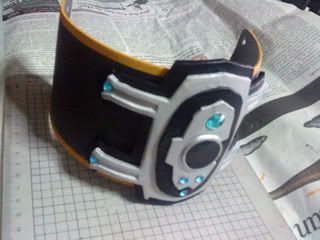
That about wraps up all the props i need for Snow. All that's left now is to make some little details on the coat, and figure out how the damn tattoo works. =/


Thank you so much for posting this! I have been cosplaying for many years, and am quite good at sewing, but when I decided to cosplay snow, I had no clue on how to make his armband or any props! So thank you very much for posting this how-to its great!
This is great!
I've been looking on what to make the armband from and this is the best i've seen :)
As for the tattoo, I actually got his :p not specifically for cosplay, but it'll sure help!
Post a Comment